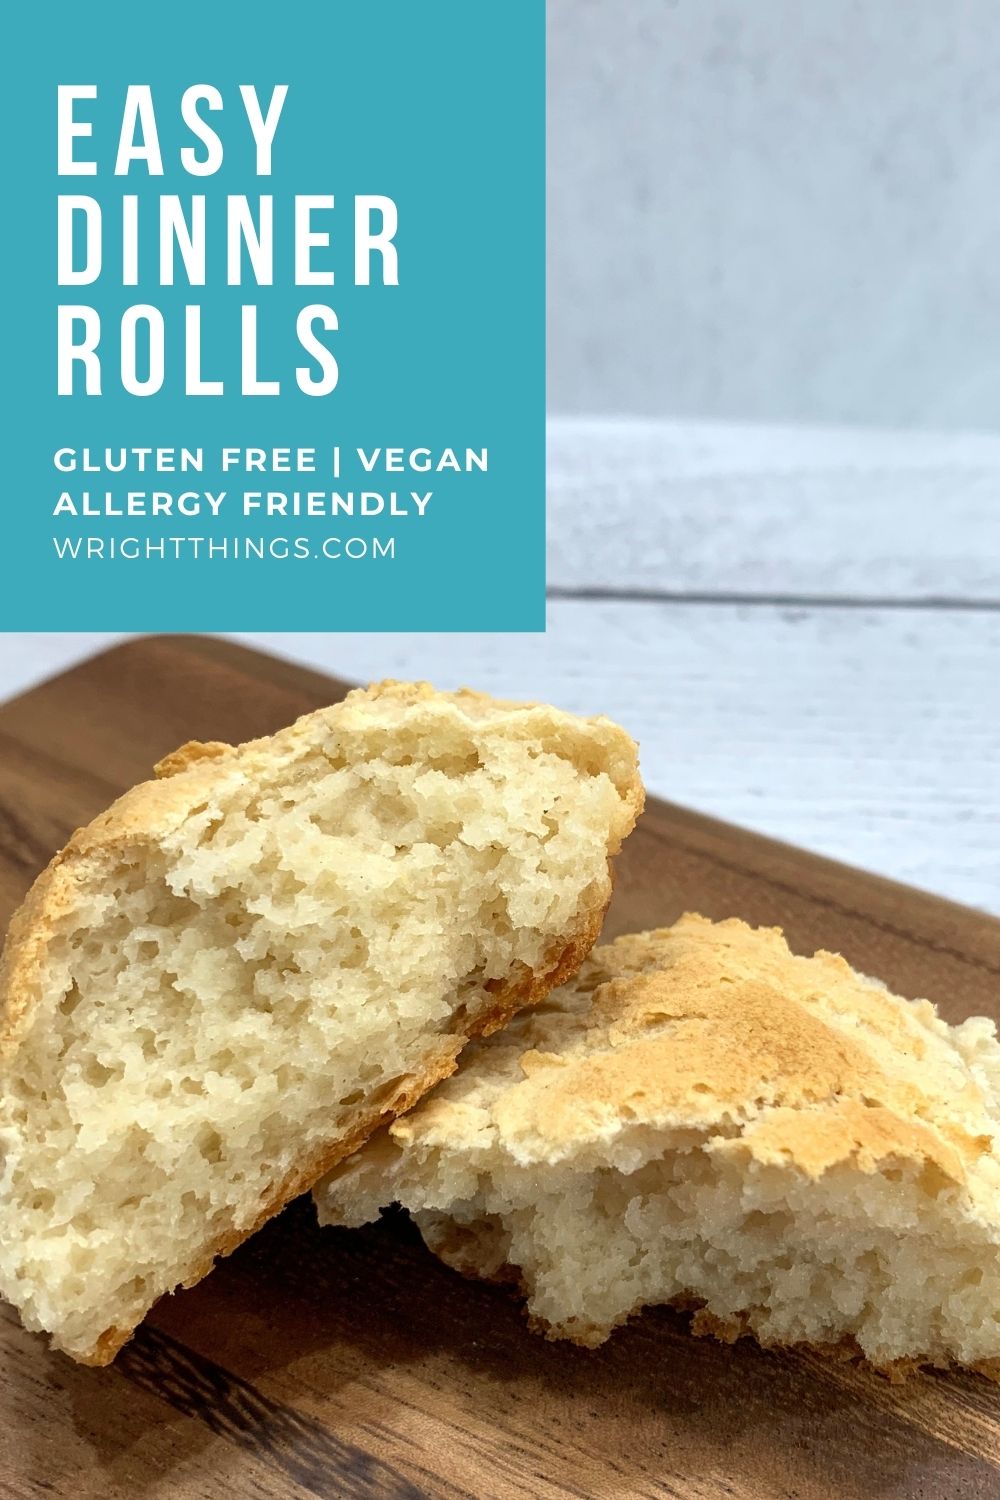
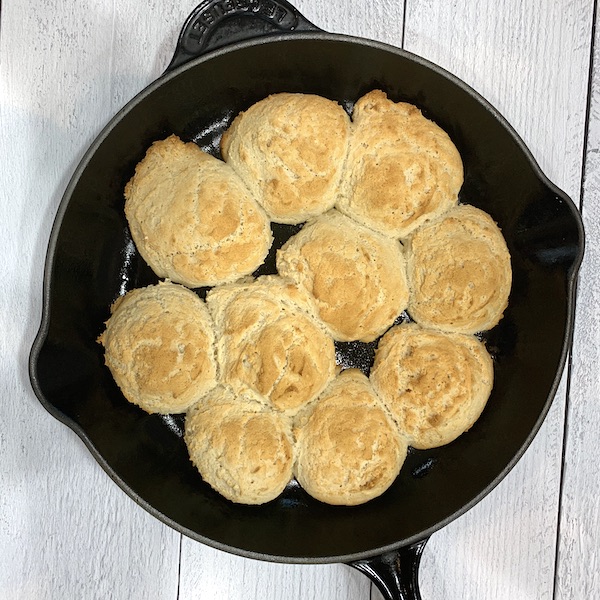
These amazingly versatile dinner rolls are not only allergy friendly, they’re also multipurpose! You can make them as regular dinner rolls, as pull apart rolls, or as slider buns. Practice making these bad boys before the holidays and really wow your family!
Folks, you’re going to love these gluten free and vegan dinner rolls. The texture makes them great for just about anything! We use them as dinner rolls, for sandwiches, with orange marmalade or jam, or just by themselves. They are truly magnificent.
How to make allergy friendly dinner rolls
First things first: let’s talk ingredients. I am a dedicated fan of King Arthur’s Gluten Free Baking Mix, which already has some leavening in it. If you opt to change to a different flour (gluten free or not), I recommend adding 1 tsp of baking powder to your dry ingredients.
Next up, let’s talk about active dry yeast. I know some of you are afraid of making your own bread because the idea of all the science behind it is intimidating. I’m here to convince you otherwise. The most important part is knowing that your yeast is alive before starting. If it isn’t, you’ll end up with bricks instead of fluffy rolls.
How to proof yeast
Warm your water on the stovetop (or in the microwave!) until warm but not hot. If you can comfortably drip it on the inside of your wrist, you’re good to go!
Next up, add your brown sugar and yeast, then stir to combine. Leave it alone for 5-10 minutes. If you come back to a bubbly, foamy top, then you know your yeast is alive. Feel free to pass go (but I don’t have $200 for you, sorry).
TIP: Did you buy a large quantity of yeast? Don’t fret! You can keep it in the fridge or freezer to prolong it’s shelf life beyond the expiration date. As long as the yeast foams in the proofing process, it’s still good to use despite the expiration.
Make dough
Mix your Baking Mix and salt together in a large bowl. Add your coconut oil and apple cider vinegar to the yeast mixture, then add the wets to the dries. Since we aren’t concerned with establishing gluten (this is a gluten free site!), you don’t have to worry about kneading. Simply mix until uniform.
The dough is going to be pretty wet and sticky. Gather it together at the bottom of the bowl, cover with a tea towel and allow to rise in a warm, draft free environment.
TIP: If your kitchen is chilly or drafty, don’t worry. Using your unheated oven, place a 9×13 dish on the bottom. Fill it with about an inch of boiling water, place your covered dough on the rack, and close the door. You just made yourself a nifty little proofing drawer!
After your dough has risen for about an hour, check on it. It should be about doubled in size. If it hasn’t gotten big enough yet, allow to rise for another 30 minutes or so.
Choose your roll size and type
Remember Choose Your Own Adventure tales? Well, this recipe is kinda like that! You can choose to shape these either like normal dinner rolls, or as pull apart rolls. For sliders, I recommend shaping them like normal dinner rolls.
Made up your mind? Follow the steps below. Either way, though, grab a cast iron (plain or enameled) pan or dutch oven. Trust me, it’s essential to the texture.
Personally, if I want normal dinner rolls, I use my Le Creuset #30 cast iron skillet, which as a 11.75″ diameter. This is a straight up awesome cast iron skillet!
If I want pull apart dinner rolls, I opt for my Le Creuset #26 brasier which has a 10.25″ diameter, which is enamel coated cast iron.
The best part about Le Creuset are all the wonderful colors it comes in. As you can see from my pictures, I tend to stick to the black ones.
Normal Dinner Rolls
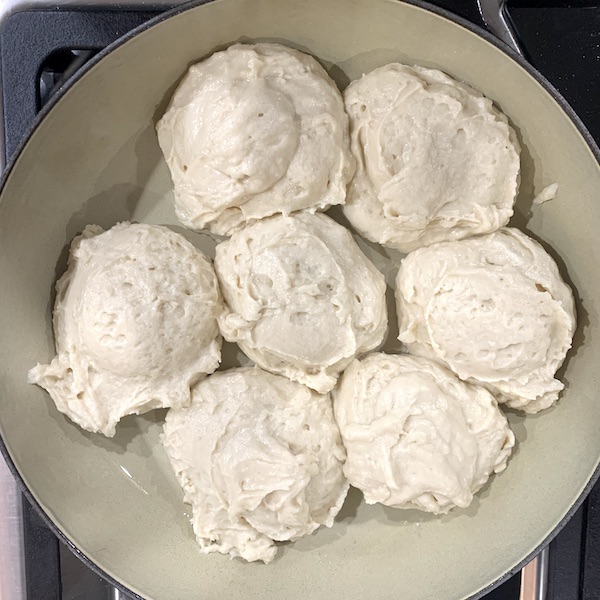
Preheat your oven to 400F. Wait until the oven comes to temperature before you start scooping your dough. Using a muffin scoop, scoop and drop your dough into the pan at regular intervals. Depending on the shape of your pan and the size of your scoop, you should have between 6-10 rolls.
They should go into the oven like this, with a distinct roll shape.
Pull Apart Dinner Rolls
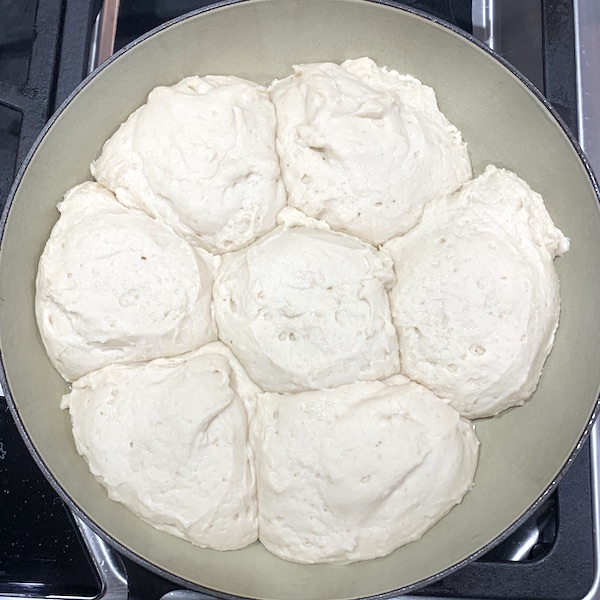
For pull apart style rolls, you are going to allow your dough to have a second rise. This means that you won’t preheat your oven until after you have scooped out your dough. By the time you put the rolls in the oven, the yeast will have done it’s trick again and caused the buns to merge together.
Using a muffin scoop, scoop and drop your dough into the pan at regular intervals. Depending on the shape of your pan and the size of your scoop, you should have between 6-10 rolls.
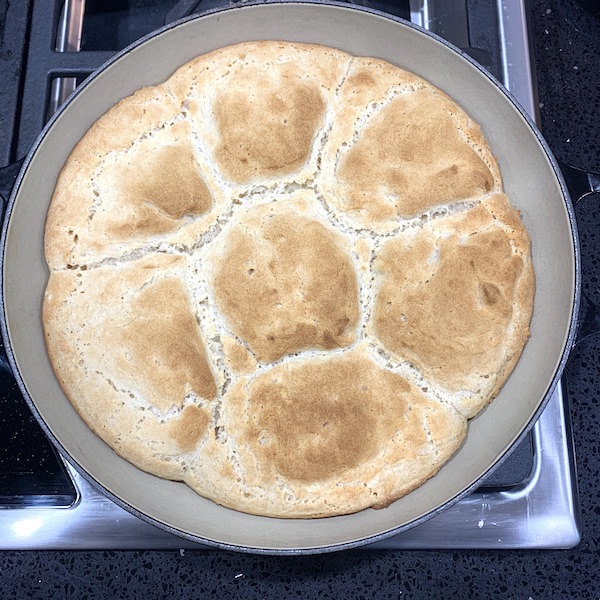
See how the rolls have come together during the second rise? Between the second rise and the smaller pan, you’re in for a delicious pull apart treat.
Bake your rolls
Bake at 400F for 28 minutes. I know this seems pretty particular, especially since you might have different sized rolls. The beauty of cast iron is that it’ll hang on to the heat long after it’s out of the oven and will continue to bake the rolls.
See? Wasn’t that easy?
Now that you’ve tried your hand at making your own gluten free bread, you see how simple it is, right? While we love these all year round, they’re an especially big hit for the holidays. And how impressive is it to say that you baked your own dinner rolls? You’re gonna steal the show!
So how do I eat all these rolls before the holidays?
While I know they’re called dinner rolls, there’s no law governing that! I highly recommend that you make a batch of these for dinner one night, then use the rest the following day.
Here’s a sample three-meal plan:
- Dinner: Air Fryer Chicken with Salad and Dinner Rolls
- Breakfast: Leftover Dinner Rolls with Homemade Marmalade
- Lunch: Sweet Potato Cake Sliders
Need more allergy friendly food inspiration? Check out these other great recipes:
If you tried this recipe, be sure to rate and review it below so I know how they turned out for you.
Be sure to follow me on social media for more allergy friendly recipe inspiration!
Allergy Friendly Dinner Rolls {Gluten Free, Vegan Slider Buns}
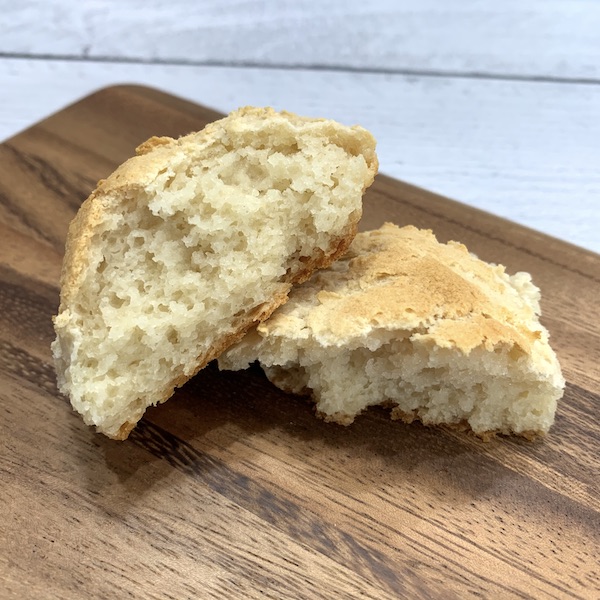
This is an allergy friendly dinner roll that can me made just about any way you want.
These vegan dinner rolls with active dry yeast can be made as pull apart rolls, or as traditioanl rolls based on how you scoop the batter, what size pan you use, and if you allow them to rise a second time.
They are super easy to make, and great with breakfast, lunch, dinner, or even as a standalone snack!
Looking for a great gluten free slider bun? They work for that too!
Ingredients
- 3 Cups King Arthur Gluten Free Baking Mix
- 1 teaspoon salt
- 1 Packet Active Dry Yeast
- 2 Cups warm water (100F)
- 2 Tablespoons Brown Sugar
- 2 Tablespoons Coconut Oil
- 1 teaspoon apple cider vinegar
Instructions
- In a large bowl, mix the King Arthur Gluten Free Baking Mix and Salt
- Heat water to 110F. Add brown sugar, and active dry yeast. Allow to sit for five minutes.
- Add 2 Tablespoons coconut oil and 1 teaspoon apple cider vinegar to wet ingredients.
- Add wet ingredients to dry ingredients, and mix well. Dough will be very wet.
- Allow to rise for one hour.
- Grease a cast iron skillet or enamled cast iron brasier.
- For pull apart dinner rolls, preheat oven to 400F after you have placed batter in pan. For traditional rolls, ensure oven is at 400F before you scoop your dough.
- After one hour, dough will have risen. Mix well.
- Use a muffin scoop dough into your cast iron to form dinner rolls. Depending on the size you would like them and the size of your pan, you are looking at between 6 and 10 rolls.
- Bake at 400 for 28 minutes.
- Allow to cool in pan for at least 20 minutes...because they are made in cast iron, they still cook a bit more after you take them out of the oven!
Notes
These dinner rolls are a gluten free, dairy free, vegan, allergy friendly crowd pleaser. They are great as a side at dinner, for a sandwhich, or with orange marmelade or your favorite jelly or jam.
They are also great to eat plain! A batch never makes it more than two days in my house.
The great thing about these dinner rolls is that they can be made as pull apart dinner rolls, or a more traditional roll.
Best of all, they can also double as gluten free slider buns!
It all depends on the size of your pan, and if you allow them to rise a second time. You can also make larger rolls the size of hamburger buns by simply scooping more batter into the same place, think more like 1 and a half scoops per roll in this case.
Recommended Products
As an Amazon Associate and member of other affiliate programs, I earn from qualifying purchases.
-
KING ARTHUR FLOUR Gluten Free All-Purpose Baking Mix
-
Zeroll Universal Standard Length EZ Disher Food Portion Control Scoop Designed for Right or Left Hand Use Dishwasher Safe NSF Approved, 2 1/4-Inch, Blue
-
Le Creuset Enameled Cast Iron Signature Iron Handle Skillet, 11.75" (2-3/8 qt.), Oyster
-
Le Creuset Enameled Cast Iron Signature Braiser, 2.25 qt., Licorice

