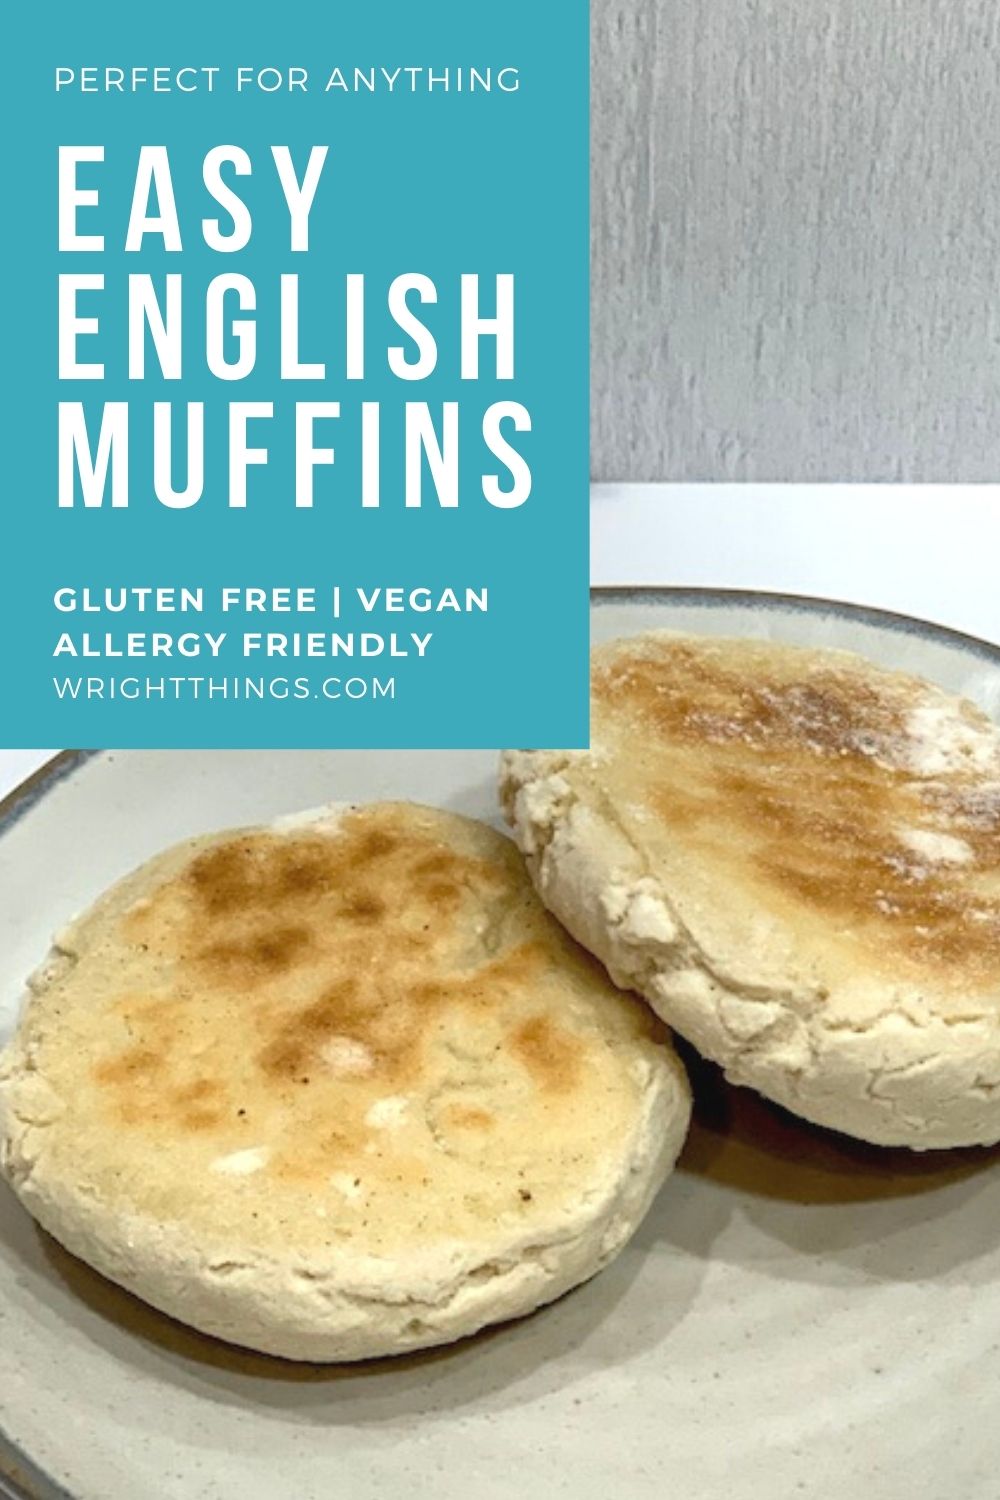
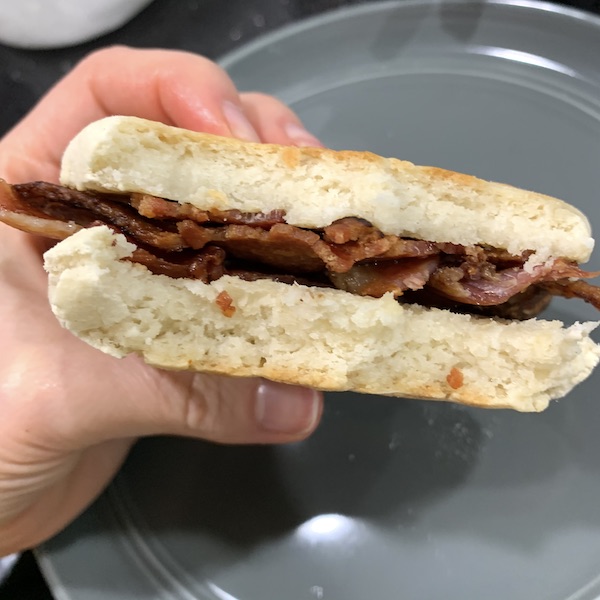
This recipe for english muffins is so good you would never guess it is gluten free, not to mention dairy free, egg free, and vegan. They make a great base for your morning breakfast sandwich, with your favorite jams and jellies, or even as the base of a personal pizza!
If food allergies have been getting in the way of you being able to enjoy all the nooks and crannies of yesteryear, you’re about to get some very good news. I have discovered a way to make everyone’s favorite breakfast bread completely allergy friendly. That’s right, folks. There’s no gluten, dairy or eggs to be found here!
How to proof yeast
While this recipe isn’t difficult, necessarily, it is a bit technical so bear with me. First up, you’re going to need to proof the yeast. While this sounds scary, all it means is making sure that the yeast is alive and will be able to make the dough nice and lofty.
TIP: Keeping your yeast packets in the refrigerator or freezer will extend their shelf life by a lot!
In order to do this, you’ll want to bring your dairy free milk, oil and a bit of sugar to a lukewarm temperature, about 95F.
TIP: Do not allow the liquid mixture to get too hot! It will kill the yeast. Stick to a temperature that is still comfortable enough to drop on the inside of your wrist.
Next up, you’ll sprinkle the salt into the warm little bath you made for it. Give it a gentle stir and wait 5-10 minutes. If the yeast is alive and well, you should see bubbles and foam at the top of the mixture. If you do, proceed to the next step! If you don’t, start over with some new yeast.
Making the English muffin dough
Now that your yeast is in good spirits, it’s time to get the party started. Simply mix together your gluten free flour and salt in a large bowl, then pour the yeasty liquid over the top. Mix until well combined.
Here is where you’re going to have to exert a bit of patience. Some cool stuff is about to happen to that dough, but only if you leave it to rest in a warm, draft free place. At this step, you’ll want to cover your dough bowl with a tea towel and leave at room temperature for about 2 hours, or until doubled in size.
TIP: If your house is a little chilly or drafty, you can easily create a “proofing room” in your oven. With the oven off, set a 9×13 pan at the bottom of the oven. Pour in about an inch of boiling water into said 9×13. Place your covered dough bowl on a rack in the middle of the oven and close the door.
The second rising
Nope, I’m not talking about religious stuff here, folks. I’m talking about your soon to be delicious English muffins. If your dough has doubled in size, you’re ready to shape your muffins and then repeat the rising process.
TIP: You know the dough is ready to go if you indent it with your finger and it springs back halfway. If it remains indented, you need to leave the dough alone and let the yeast do more work.
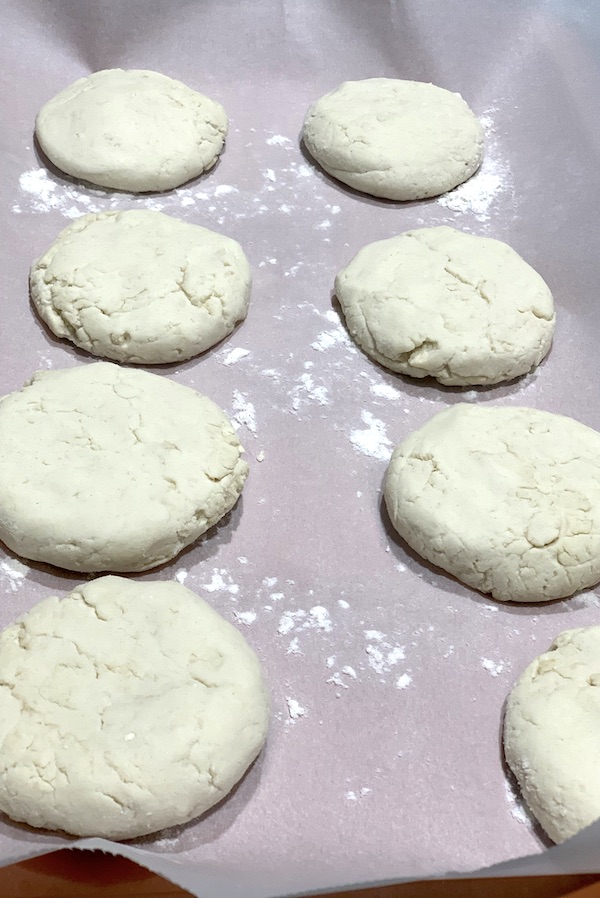
Remove your ball of dough from the bowl and cut it in half. Keeping one half of the dough covered, cut the other half into equal thirds. Cut each of those pieces in half. Using your hands, roll each piece of dough into a ball and then pat into English muffin shape. Place shaped muffins on a parchment lined sheet tray.
TIP: If your hands are sticking to the dough, simply dust them with some more gluten free flour. Repeat as needed.
Repeat this process with the other half of the dough. When all of your muffins are complete, it’s time to lightly cover them back up with a clean towel and allow them to rise again, about 45 minutes.
Time to cook the English muffins
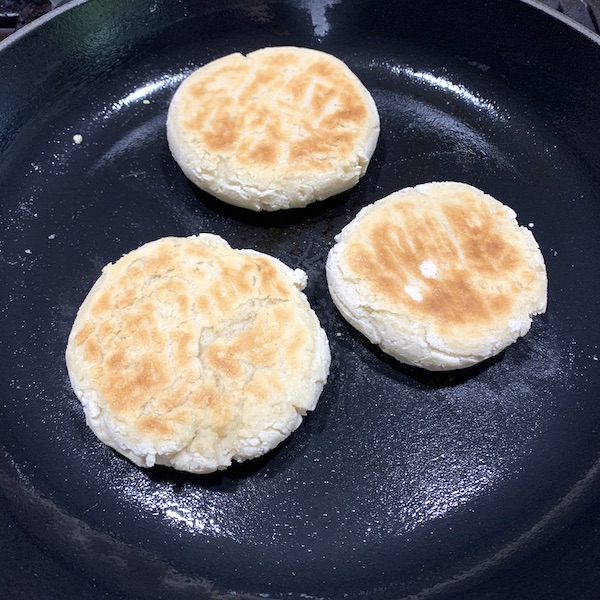
Congratulations! You’ve made it to the final step of making your very own allergy friendly English muffins. Pull out your trusty cast iron pan and preheat it to a medium low temperature. When the pan is clearly hot, start working in batches to cook the muffins.
Each batch will take about 15 minutes. You’ll cook the first side for 5 minutes, then flip. Cook for another 5 minutes, then flip again. Cook for 2.5 minutes, then flip one last time. Cook the remaining 2.5 minutes, then remove from the pan. Continue this process until all English muffins are complete.
TIP: If you prefer your English muffins to be a bit darker, feel free to cook them for up to an additional 5 minutes.
Time to enjoy!
Now you’re ready to dig in and enjoy the fruits of your labor. Using the tines of a fork, poke your way around the circumference of the muffin. Using a serrated knife, cut it in half. Now toast and fill it with your favorite toppings!
They’re great toasted and slathered with just a bit of vegan butter. I love them with my homemade orange marmalade. I also love using them as the base for all kinds of sandwiches. BBQ Shredded Chicken and Italian Shredded Chicken are two great places to start.
Whether you use them to make breakfast sandwiches or pizzas, as burger buns or jelly holders, these vegan and gluten free English muffins are sure to transport you back to a simpler time. Enjoy!
If you loved this recipe and want more inspiration, be sure to follow me on social media!
Gluten Free Vegan English Muffins
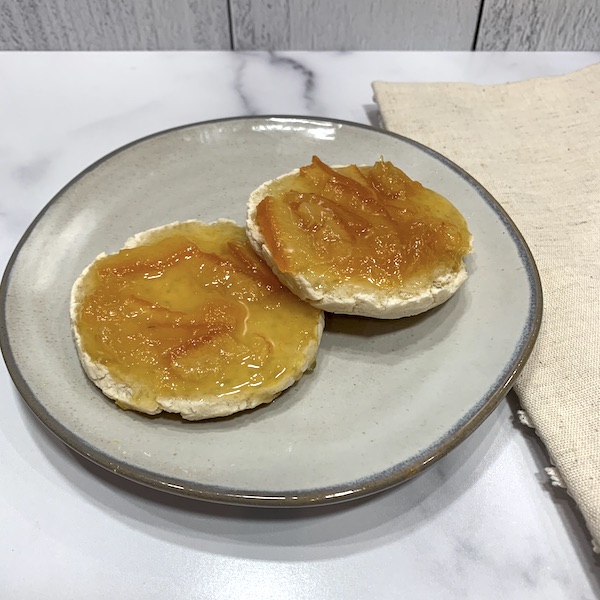
These english muffins are so good you would never guess they are gluten free, not to mention dairy free, egg free, and vegan.
They go great as the base as a breakfast sandwhich, with your favorite jams and jellies, or even as the base of a pizza!
This recipe makes between 12-14 english muffins depending on their size.
You can't go wrong with these!
Ingredients
- 4 Cups King Arthur Gluten Free Baking Mix
- 2 Tablespoons Coconut Oil (any type)
- 1 teaspoon salt
- 2 Cups Dairy Free Milk (we like So Delicious Coconut Milk Beverage)
- 1 Packet Active Dry Yeast
- 2 Tablespoons sugar
Instructions
- Combine flour and salt in a large bowl and set aside.
- Heat the Dairy Free Milk, sugar, and coconut oil in a pan until it has reached 95F.
- Add yeast to dairy free milk mixture and allow to sit for 5 minutes.
- Add dairy free milk mixture to dry ingredients and mix well until a dough forms.
- Cover and allow to rise for two hours.
- After dough has risen, cover a baking pan with parchment and sprinkle with gluten free flour.
- Divide the dough into 6 pieces in the bowl. You wil divide each piece again. Depending on the size you would like your muffins, you can experiement with how much dough you use for each.
- Coat your hands in flour, and break a dough piece in half. Roll it into a ball, then pat it into an english muffins shape. Add more flour to your hands as dough begins to stick.
- Allow muffins to rise for 30 mote minutes after they have been shaped.
- Pre-heat a lightly cast iron skillet over medium-low heat.
- Each batch of muffins will take approximately 15 minutes to cook.
- Cook each muffin for five minutes, the flip for another five minutes.
- After the 10 minutes, flip again, and again after 2.5 minutes. Cook them on the second flip for anohter 2.5 minutes, for a total cooking time of 15 minutes.
- If they are not your desired level of brown, cook for up to another 5 minutes
- Once they are your desired level of brown, remove from heat and serve.
Notes
The double rise of these english muffis is what allows their wonderful texture.
Cooking them in a cast iron skillet makes them nice and golden brown. It also cooks them slowly contributing to the texture.
You can also experiment with the muffin size and tweak it to your liking, we like to make smaller ones for the kids and bigger ones for the adults!
We eat these with just about anything!
Recommended Products
As an Amazon Associate and member of other affiliate programs, I earn from qualifying purchases.


