Does anyone else remember cruising the mall food court in the 90s and waiting with baited breath for your fresh pretzel to come up? I know I sure do! Well guess what, folks? These deliciously soft pretzel bites are now available in a gluten-free and vegan form so that everyone can enjoy their yummy goodness.
The true beauty of soft pretzels is their incredible versatility. I mean, who doesn’t love a fresh, warm, yeasty, buttery soft pretzel? Whether you’re 8 or 80, you’d be crazy to not love them. And even better? They play nicely with all the sauces, from queso to caramel, marinara to mustard.
This gluten free soft pretzel recipe is so good, you won’t even be able to tell that it’s not the recipe from the mall food court. And what’s even better is that since these are homemade pretzel bites, you know exactly what is going into them.
Why You’ll Love These Pretzel Bites
- You don’t need to make a trip to the mall to enjoy the gluten free soft pretzels
- Can make the gluten free pretzel bites from the comfort of your own kitchen
- You know the ingredients used to make them
- You can use any dipping sauces you like for this great snack or cover them in a cinnamon sugar mixture for a sweet treat
- This recipe is easy to scale and make extra to store and freeze for later
Ingredients Needed
Get more info on the simple ingredients needed to make your gluten-free dough in the recipe card below
- King Arthur Gluten Free Baking Mix
- active dry yeast
- sugar
- salt
- warm water
- olive oil
- 3 quarts of water
- baking soda
- coarse salt (Optional)
How to make homemade gluten free pretzel bites
First up, you’re going to need to proof your yeast. While this sounds like a daunting task, I promise, it’s pretty simple. Combine warm (110F) water, yeast and sugar in a small glass or bowl. Stir to combine and wait about 5-10 minutes, until the mix starts bubbling and foaming at the top. This means your yeast is alive and ready to party!
TIP: Yeast will keep long beyond its expiration date if you keep it in the freezer. Before baking anything with it, just follow the steps above to make sure the yeast is alive before proceeding.
Next, you’ll form the dough. Simply whisk together your King Arthur’s Gluten Free All Purpose Baking Mix with the salt, then slowly add the liquid mix to it. This is easiest if you have a stand mixer fitted with a dough hook, but you can totally make it work using just your hands and a little patience. When the ingredients come together in a uniform dough, you’re ready.
Next, you’re going to need to allow your dough to rest and rise. Simply place the dough ball in a lightly greased bowl and cover with a tea towel to rest at room temperature. If your oven has one, the proofing setting is awesome for this.
TIP: If you don’t have a proofing function on your oven, don’t fret! Simply place a 9×13 at the bottom of your oven and fill it with about an inch of boiling water. Place your covered dough in the oven and shut the door. Voila!
Let your dough rise in a draft free warm place and check your dough after about an hour. The dough is ready to roll if you make an indent with your finger and it springs about halfway back up. If the indentation stays put, let the dough continue to rise.
Ready to roll!
Once your dough has risen, you are now ready to roll (literally). I personally like to make my gluten free pretzel dough into bites or batons, but you can absolutely make them into a traditional pretzel knot as well.
Simply cut the dough into 16 roughly even pieces.
TIP: The easiest way to do this is to cut your dough in half. Now cut each of the halves in half. Repeat that twice more. Trust me, it’s way easier than trying to eyeball 1/16th of a ball!
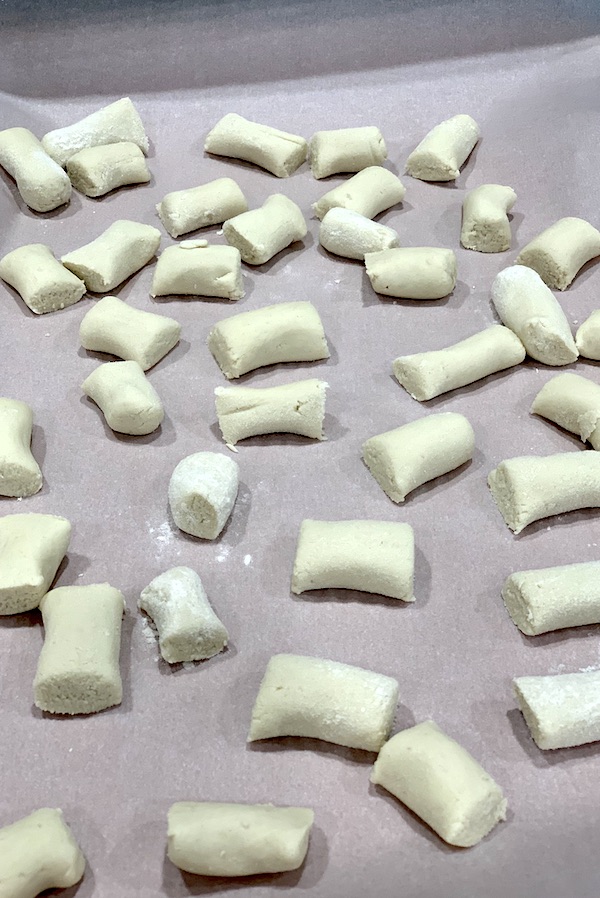
Using gluten free flour, dust your work surface and hands to prevent sticking. Roll out each of the pieces into a log. From here, you can do the traditional pretzel twist to make traditional pretzels, or use a bench scraper to cut into bite-sized pieces for little pretzel bites. Whatever shape you choose, place them on a parchment lined baking sheet.
It’s bath time
Yep, you read that right. Pretzels are an interesting beast because you first bathe them in boiling water before baking them. Strange, right?
So first, you’ll want to bring about 3 quarts of water to a rolling boil. Next, you’re going to slowly add in 3 Tbsp baking soda. Trust me on the slow part. If you dump it in all at once, the pot will boil over! The baking soda bath will help to make the water alkaline, which helps to create the signature chewy pretzel crust that is so crave-able.
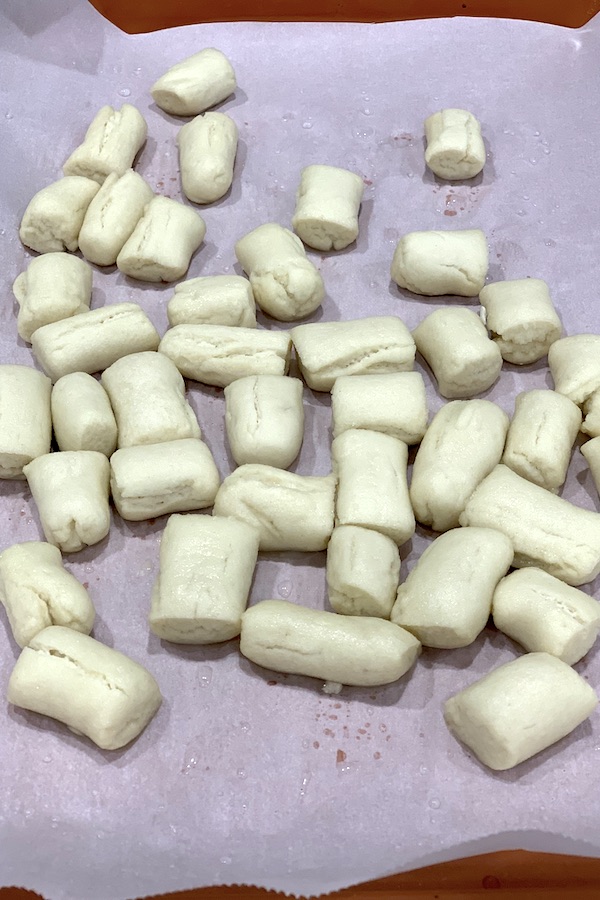
Add your pretzels, pretzel bites or batons in small batches. When they rise to the top of the pot, they’re ready to take out. Use a slotted spoon or a spider to make sure you’re not taking too much water to the baking pan.
TIP: If you love your soft pretzels to have a crunchy salted exterior, now is the time to add your course pretzel salt.
 Getting baked
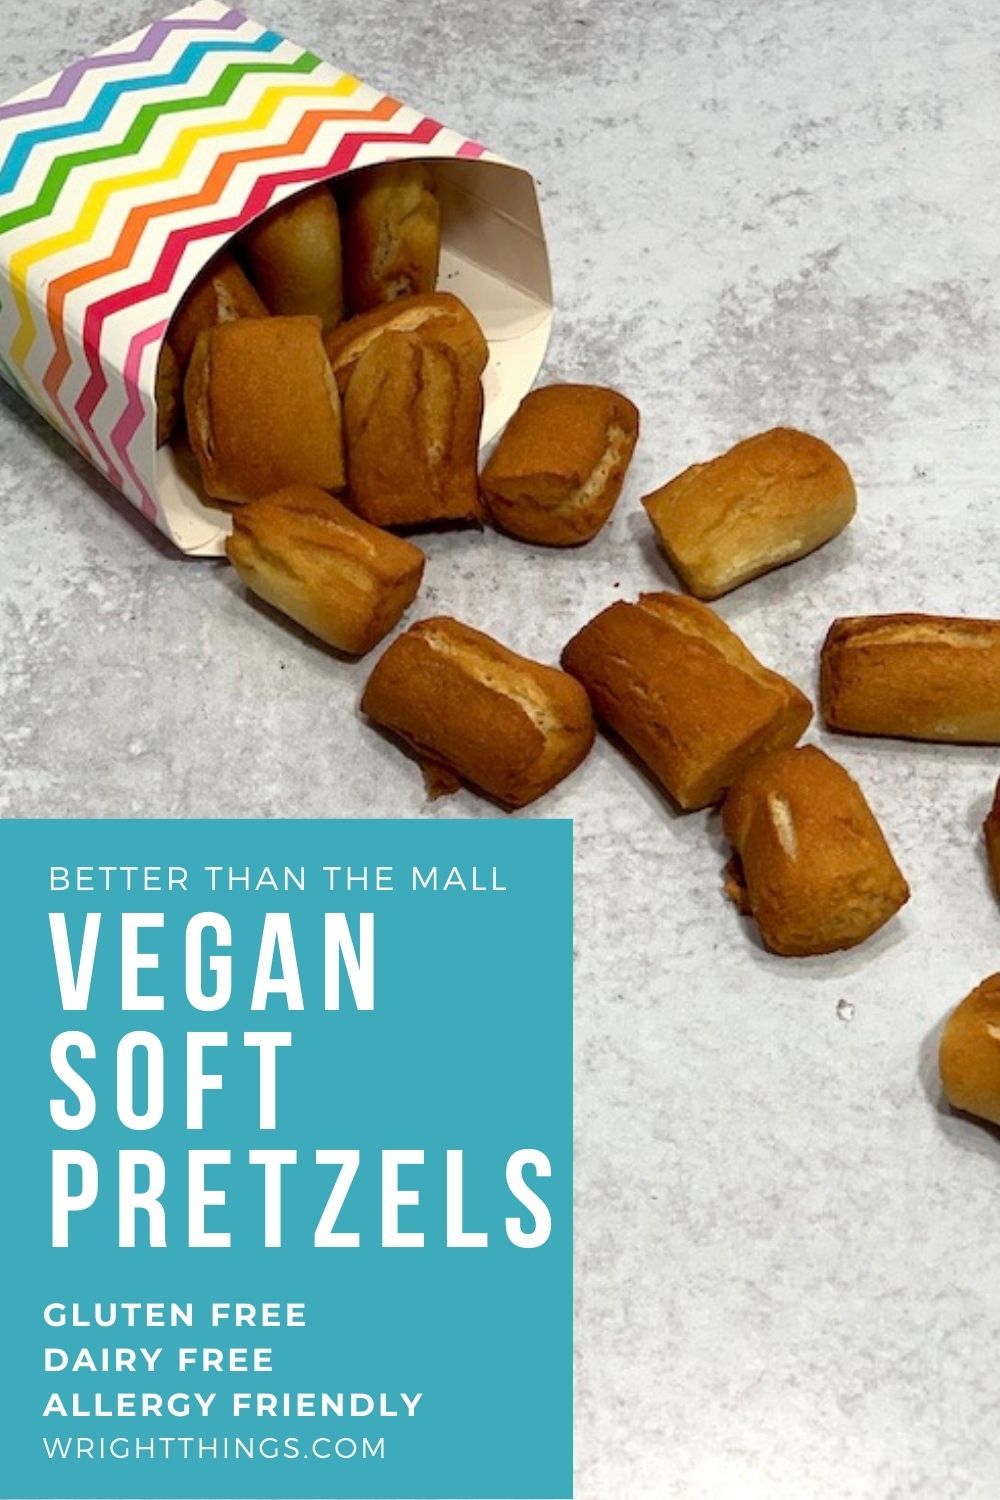
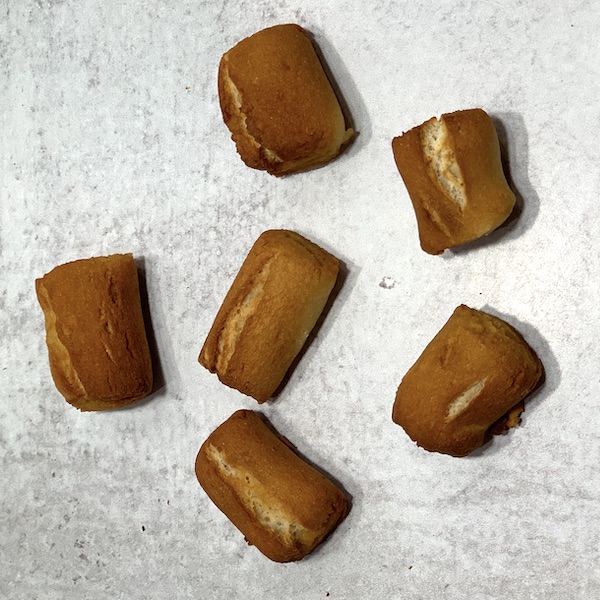
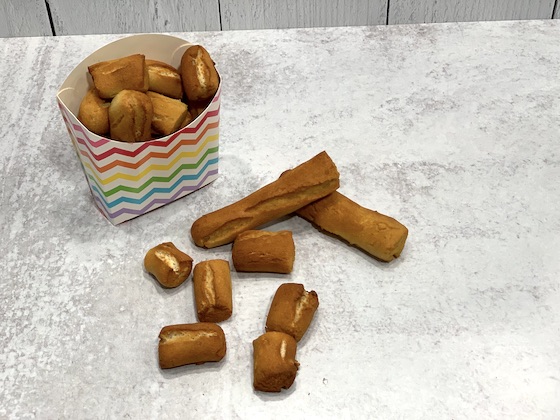
All that is left to do is bake the homemade pretzels at 400F until they are a golden brown or are the color you desire. Keep in mind the longer you bake them, the harder they will become. We like to bake ours for about 15 minutes, until the center has reached an internal temp of 210F.
While they do take a bit of time and patience, I promise that these homemade gluten free vegan pretzel bites are about to satisfy all of your soft pretzel cravings. All that’s left to do is figure out what you’re going to eat them with!
Are you going to choose classic coarse sea salt, some melted butter brushed on top of the pretzels, rolled in brown sugar, cheese sauce, or maybe a sweet caramel dip!?!
Storage
To store your homemade gluten-free pretzels, let them cool completely after baking. Once cooled, place in an airtight container or Ziploc bag and keep in a cool and dry place. They should stay fresh for up to one week. You can also freeze the pretzels for up to 3 months if you want them to last longer.
To reheat these gluten free bites, you can pop them in a foil pack in the oven until warmed through, microwave them, or use the toaster oven to warm them up a bite before enjoying the delicious soft pretzels again.
Tips and Variations
- Feel free to serve these with whatever dipping sauce you prefer, or eat them plain all by themselves, they’ll be amazing that way too.
- This is an easy recipe to scale and make a TON more of. These are the perfect thing to set out at a birthday party, a game day gathering, or even a baby shower. The reasons to serve these pretzel nuggets are truly endless!
- If you don’t have a baking mix from King Arthur, you can use another gluten free baking mix to make these gluten free soft pretzel bites.
- Make sure that your work surface is a clean surface before it becomes your lightly floured surface. You don’t want anything getting into your pretzel dough and you certainly don’t want to add too much flour to the baking mix so that the pretzels don’t turn out properly.
- Don’t skip the baking soda bath, it’s important to help the pretzels get to the proper texture when
Want some things to dip your pretzel in? Check out these other recipes!
- Homemade BBQ Sauce
- Lemon Olive Oil Salad Dressing
- Vegan Olive Tapenade
- Easy Instant Pot Orange Marmalade
If you loved this recipe and want more recipe inspiration, be sure to follow me on Pinterest and Instagram!
Gluten Free Vegan Soft Pretzels
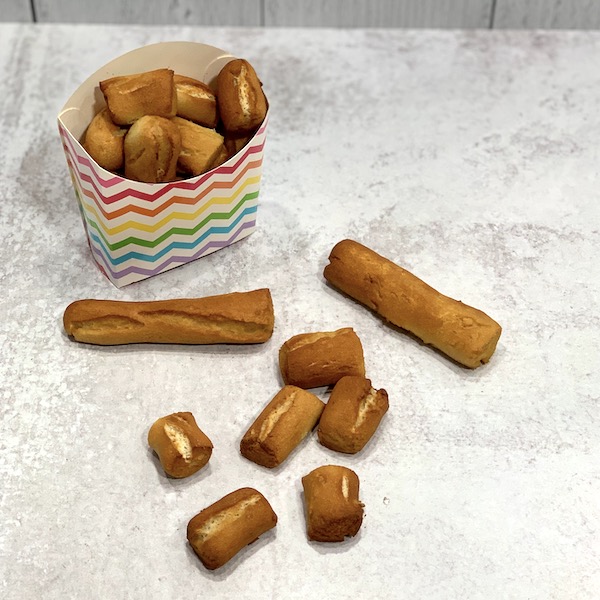
This is the pefect dough for gluten free, vegan soft pretzels way better than the ones you would get at the mall.
I like to make nuggets or sticks, but this dough would also work well for creating traditioanl soft pretzel twists.
Ingredients
- 4 Cups King Arthur Gluten Free Baking Mix
- 1 Packet (2 1/4 Teaspoons) Active dry yeast
- 2 Tablespoons sugar
- 1 Teaspoon Salt
- 1 1/2 Cups warm water
- 2 Tablespoons Olive Oil
- 3 quarts of water
- 3 Tablespoons Baking Soda
- Coarse Salt (Optional)
Instructions
- Combine warm water (110F), yeast, and sugar. Mix well and allow to rest for 5 minutes.
- In large bowl, combine King Arthur Gluten Free Baking mix and salt. After the yeast mixture has sat, add to the dry ingredeints.
- Mix well until a dough has formed.
- Allow to rise for one hour. I like to use the proof setting on my oven for this.
- After dough has risen, preheat your oven to 400.
- The next part is to roll out the dough. Decide what kind of pretzels you want to make! I like nuggets or sticks, but you can also make traditioanl twisted pretzels with this dough.
- Split dough into eight pieces, and each piece in half again.
- Coat a work surface with flour, and coat your hands with flour. If dough is sticking to you, add a bit more flour to each piece.
- Roll out the dough into a log shape. From this point, you can make any shape you want!
- Place prepared pretzels on a parchment coverd baking sheet.
- The next part is the baking soda bath. Bring 3 quarts of water to a boil.
- SLOWLY add 3 tablespoons of baking soda. If you add it too fast, your pot will boil over! If it does, remember baking soda is a great cleaner.
- Add pretzles to bath in small batches. Remove from bath once they are floating.
- At this point, you can add coarse salt to the pretzels if desired, but we don't bother, they are delicous without it
- Bake at 400F until your pretzels have reached the desired color. The longer you cook them, the harder they will become. Be sure the internal temperature reaches 210F for doneness. I bake mine about 15 minutes.
Notes
These pretzels don't need pretzel salt added to them, but if you would like to salt them, be sure to add the salt after you have taken them out of the baking soda bath.
These are pefect plain, and also great to use with your dip of choice, like this easy vegan olive tapenade.
You can also toss them with a bit of coconut oil, cinnamon, and brown sugar right after they come out of the oven!
Recommended Products
As an Amazon Associate and member of other affiliate programs, I earn from qualifying purchases.


 Getting baked