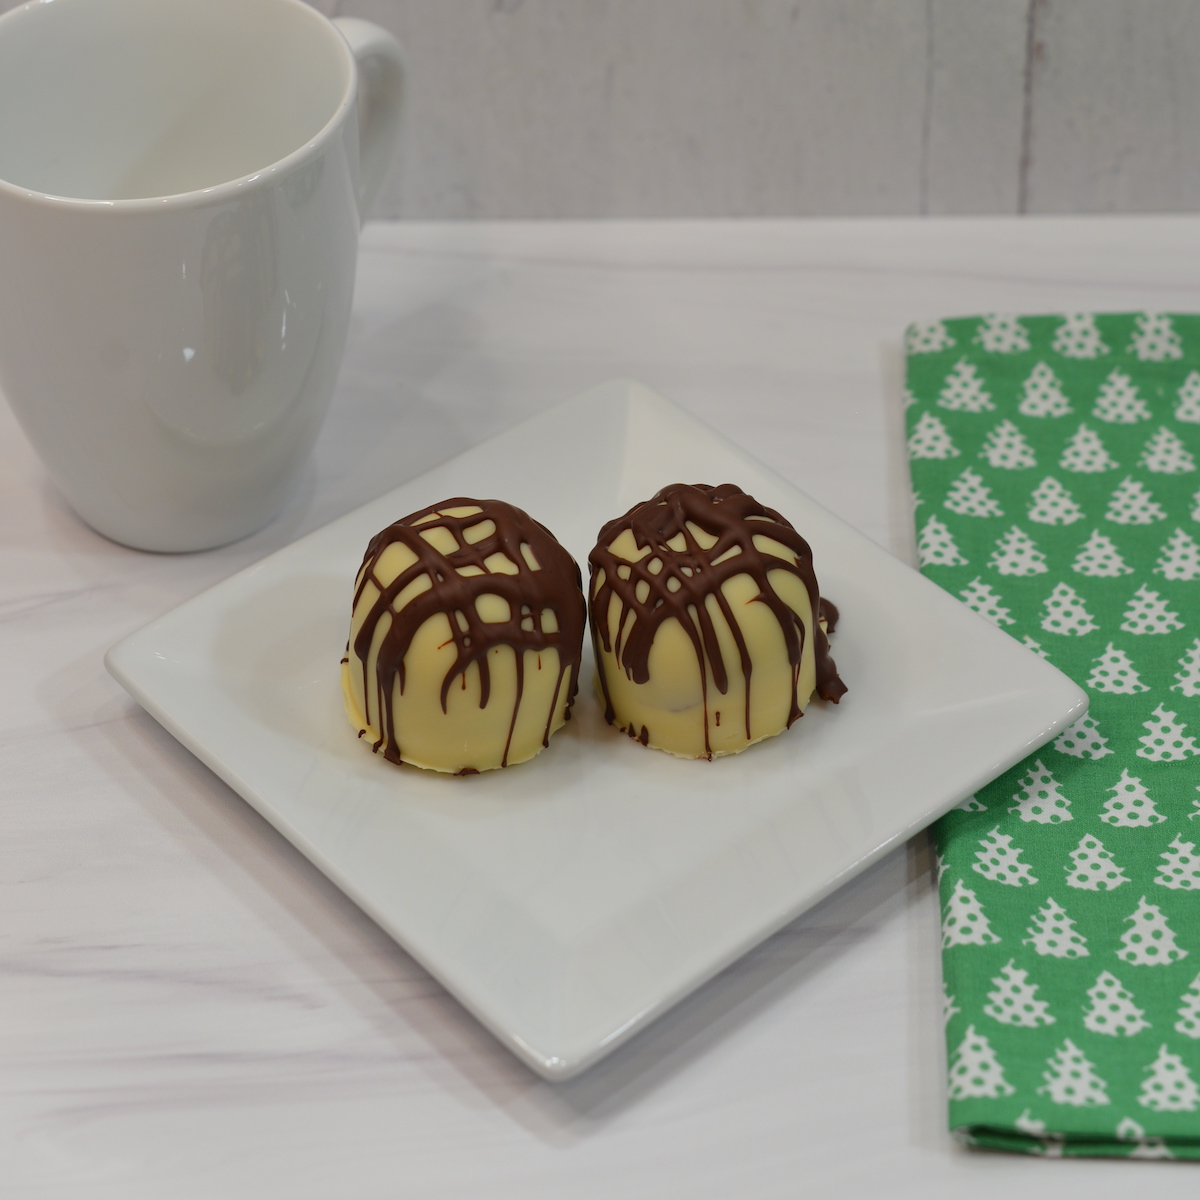
Hot chocolate bombs are sweeping the Internet, and absolutely everywhere. If you’re wondering if you can make a million and one hot chocolate bomb flavors that are gluten free, dairy free, vegan, and allergy friendly, the answer is YES.
I’m going to show you how to make amazing vegan, dairy free hot chocolate bombs. These hot chocolate bombs are also nut free, allergy friendly, and gluten free.
I’ll share some of my favorite brands of chocolate I use for these with you, and you can substitute in your own favorites as well.
What do you need to make homemade hot chocolate bombs?
You need a few simple things to make homemade hot chocolate bombs:
- Allergy friendly chocolate to melt
- Molds
- Allergy-friendly hot chocolate mix or cocoa powder (I prefer cocoa powder)
- Marshmallows or other fillings
- Your favorite allergy friendly milk to make your hot chocolate of course!
That’s it! There really isn’t much to it, these are super easy***
***once you’ve done it a few times. Don’t worry, I’m going to share all of the tips and tricks I’ve learned with you! This isn’t like all of those other hot cocoa bomb blogs that leave you hanging if you run into trouble.
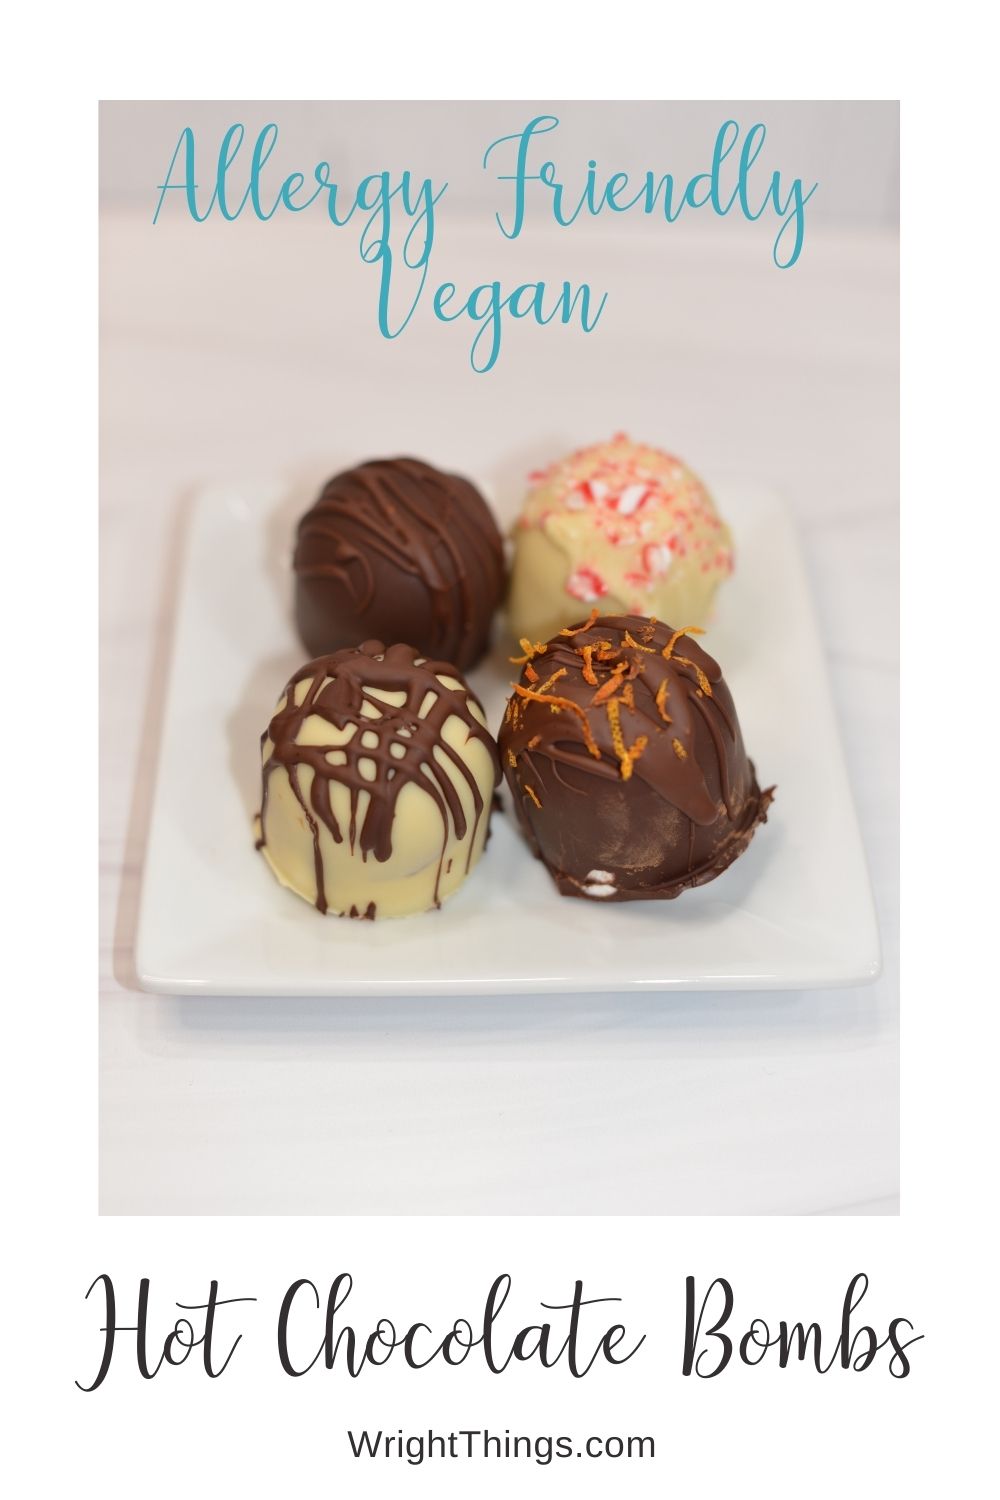
I’m also going to show you how to make four different types of allergy free hot cocoa bombs:
- White Chocolate Peppermint Mocha Vegan Hot Cocoa Bombs
- Black and White Allergy Free Hot Chocolate Bombs
- European Style Dark Chocolate Hot Cocoa Bombs
- Orange Dark Chocolate Hot Cocoa Bombs
All of my hot cocoa bombs are allergy friendly, and don’t contain any additional added sugar or fillers.
Read on for everything you need to know about hot cocoa bombs.
Which mold should I get for hot chocolate bombs?
The gold standard for hot chocolate bombs are silicone candy molds like this:
Unfortunately, they are sold out almost everywhere so if you don’t have them already, you may be in trouble.
Here is my order of preference for molds for hot cocoa bombs:
- Silicone candy molds like this
- InstantPot egg bite molds
- Metal bath bomb molds
Really, it depends on what you have on hand. I went with the InstantPot silicone egg molds (I have these) because I had them already.
They are also useful for many other things besides hot cocoa bombs, and easy to work with. I’ll show you how to do it with the InstantPot egg bite molds.
I’ve also tried metal bath bomb molds (I have these). I don’t like them as much because they are more difficult to use. Here are some helpful tips:
Tips for using metal bath bomb molds for hot chocolate bombs
If you are going to use metal molds for hot chocolate bombs, and have never done this before there are some things you should be aware of.
First of all if your molds are unused, you need to get them dirty! I wiped mine very lightly with coconut oil, and a microfiber cloth. I wiped in the oil, then wiped it out with a microfiber cloth.
Then, the consistency of your chocolate matters. I’m not going to say temperature, because depending on what chocolate you are going to use, the melting point may be different.
You want the chocolate to be thicker than after you melted it. Let it sit for 5 to 10 minutes, and when it really comes off your spoon slowly, you’re ready to use it.
Use a tablespoon to spread the chocolate up the sides and around of the mold. If there are any spots where you can see the mold, use the spoon or a paint brush to fill them in with extra chocolate.
Be sure to wipe the rims of the mold.
Put in the freezer for 10 minutes.
Take the hollow chocolate shell out of the molds immediately. Use your thumbs to push the chocolate up the side and out. This just seems to take some practice. I did break quite a few at the beginning, but you can always re-melt the chocolate and try again.
You can turn these vegan hot cocoa bombs with a variety of flavors into the perfect gift to share with friends and family. Store them appropriately and then you can add a pretty ribbon with instructions on using the bombs and when they should use them by.
It’s also helpful to let them know that these are allergen friendly that way if they food allergies, they’ll be even more excited to know that they can still enjoy this yummy hot chocolate since it’s safe!
How do you make a hot chocolate bomb?
Now I’m going to take you step by step through making these allergy free hot chocolate bombs using InstantPot egg bite molds.
Start by melting your chocolate. I did it using my InstantPot as a double boiler.
Start by putting 3 cups of water in your InstantPot and switching it on to sauté.
Simply place two packages of your favorite allergy free chocolate chips in a large metal bowl. Once the water is boiling, put your metal bowl on top of your InstantPot in 30 second increments and stir stir stir!
You want to melt all of your chocolate chips. After they have all melted, let it sit for 5-10 minutes.
You don’t want your chocolate to be too liquidy, it has to cool first to coat the molds correctly.
Use a kitchen tablespoon and put two spoons of chocolate in each mold, using the spoon to bring the chocolate up the sides.
Do this for all of the holes in your InstantPot egg bite mold. Keep cycling through this, and your chocolate will get firmer. This is a good thing! This whole process should take you 3-4 minutes.
If you see the mold through any of the spots in the chocolate, spread another layer of chocolate with the spoon or a paint brush.
Allow the chocolate to set for 10 minutes in the refrigerator.
How to fill the molds for hot chocolate bombs
Once your chocolate shells have hardened, you are ready to fill half of the sphere with your hot cocoa mix, vegan mini marshmallows, cocoa powder, or whatever it is you are wanting to add inside.
I like to fill the chocolate spheres in this order:
I like to fill them in this order:
- Special feature like crushed candy canes, chopped dairy free chocolate bar, or orange peels (or sprinkles or whatever you want!)
- Cocoa powder/hot chocolate mix
- Marshmallows
- More chocolate to coat
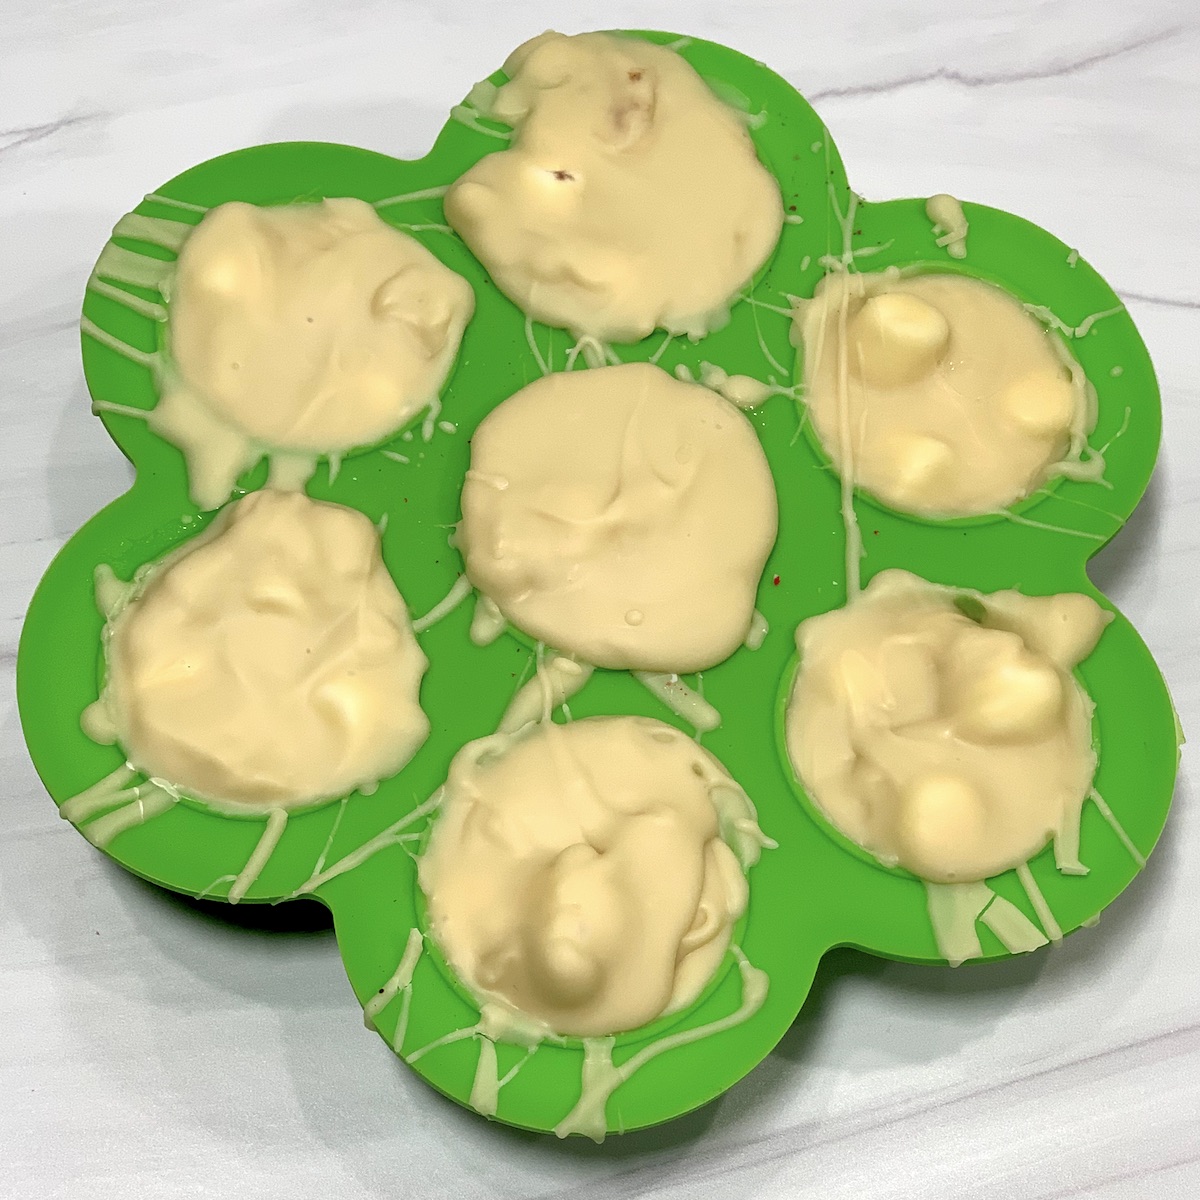
Here’s what filling the molds looks like in stages:
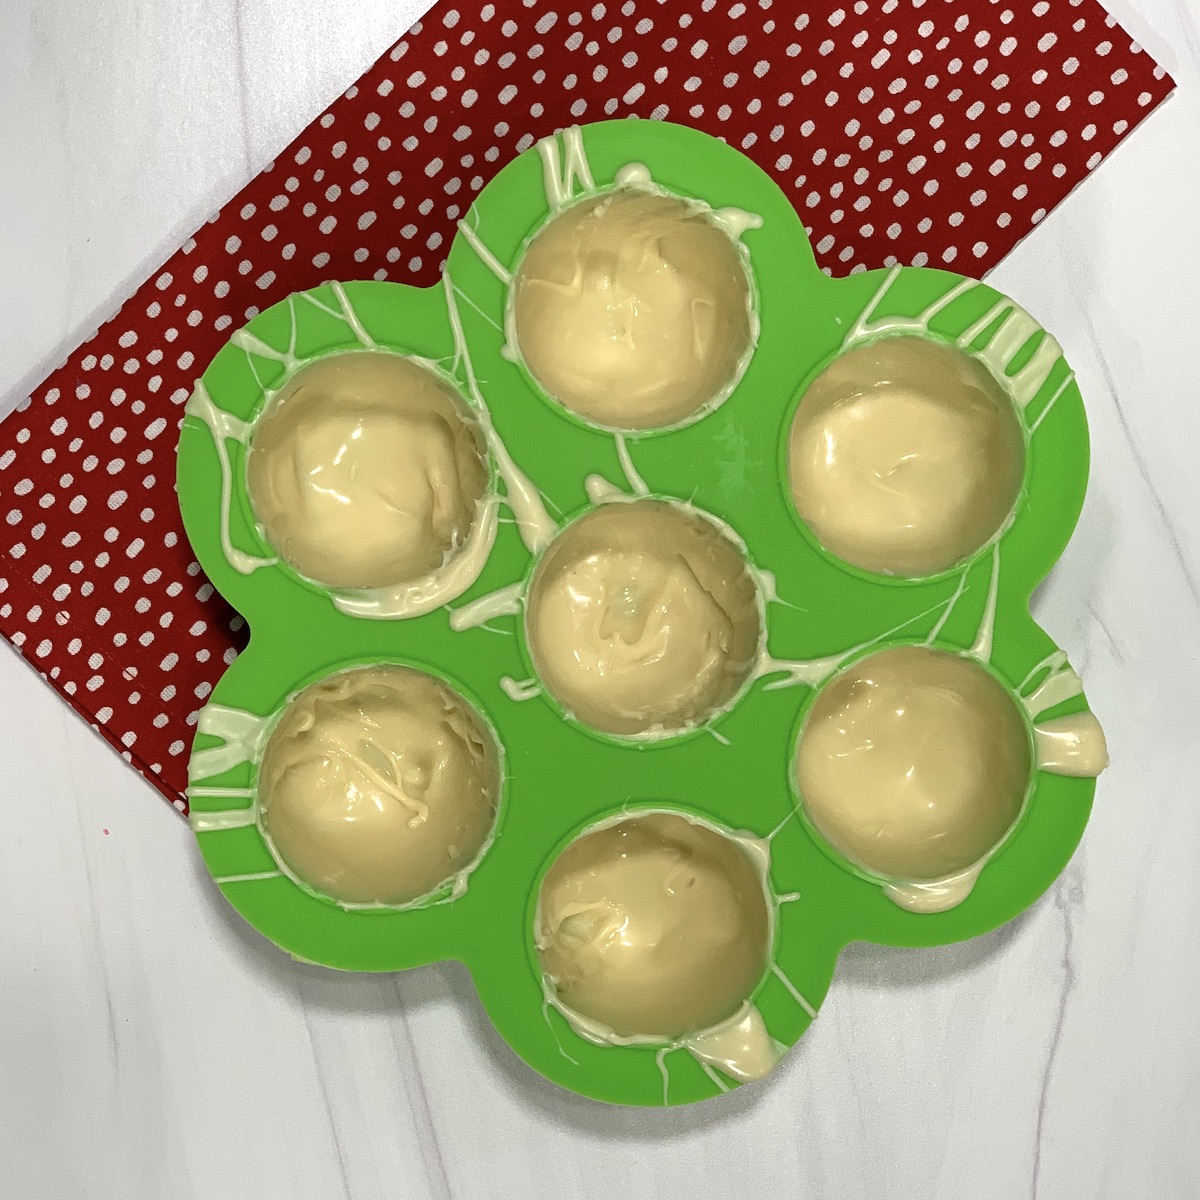
This is what it looks like after you’ve coated the mold with chocolate.
Put them back in the refrigerator for another 10 minutes before removing them from the silicone molds.
Here is my favorite way to layer hot cocoa bombs:
- Special feature if you have one
- Cocoa (if you are using it)
- Marshmallows
- More chocolate to seal the bomb.
After you’ve filled your molds, seal them with another two spoons of chocolate and spread it over the top. Don’t worry about being messy, silicone molds are easy to clean and you can break off any stray pieces later:
They pop right out! First, stretch the mold a little bit, then one by one peel the mold back and apply pressure to the bottom of the mold. They should pop right out. Occasionally one won’t survive, but that is par for the course.
Now, here is what you need to make my four favorite flavors of hot cocoa bombs that are allergy free, vegan, nut free, and gluten free!
These also do not have any added sugar other than what is in the chocolate, if you like your hot cocoa sweeter, you may want to add some sugar to the cocoa powder.
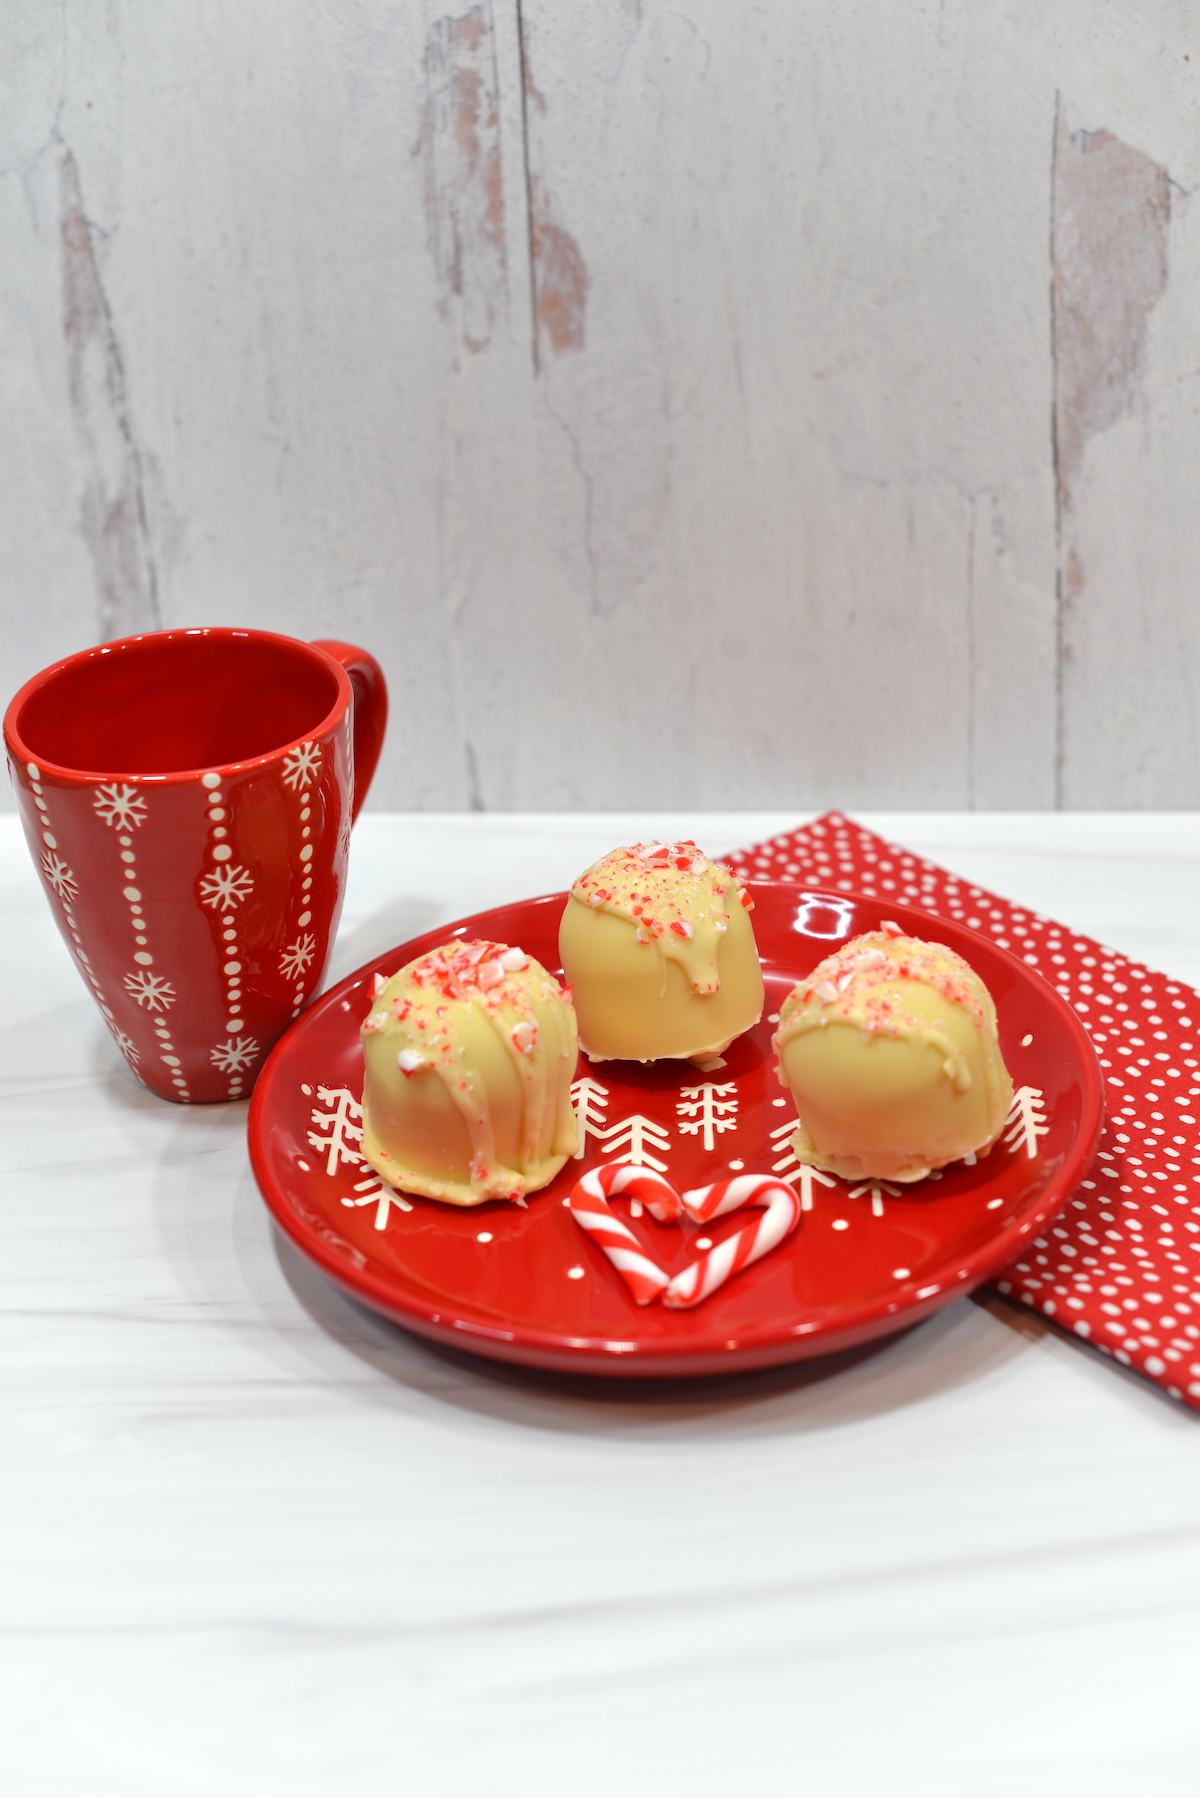
White Chocolate Peppermint Mocha Vegan Hot Cocoa Bombs
These are a favorite with a lightly sweet peppermint flavor.
To fill one InstantPot silicone egg mold with 7 slots you will need:
- 2 Bags of Nestle Allergy Free White Chocolate Chips (or other allergy friendly white chocolate- Enjoy life makes some as well)
- 21 Mini Candy Canes smashed (2 for inside each cocoa bomb, 1 for the outside)
- Mini Marshmallows (10-12 per bomb)
Black and White Allergy Free Hot Chocolate Bombs
This is a fun take on a classic, inspired by black and white cookies!
To fill one InstantPot silicon egg mold with 7 slots you will need:
- 2 Bags of Nestle Allergy Free White Chocolate Chips (0r other allergy friendly white chocolate)
- 7 teaspoons allergy friendly cocoa powder
- Mini Marshmallows (10-12 per bomb)
- Allergy Friendly dark chocolate chips or chunks for decorating (approximately 1/4 of a bag)
European Style Dark Chocolate Hot Cocoa Bombs
We like things less sweet in our house. This is a rich, dark, traditional European style hot chocolate bomb.
To fill one InstantPot silicon egg mold with 7 slots you will need:
- 2 Bags of allergy free dark chocolate chips or chunks, use your favorite vegan chocolate chips for your dark chocolate shell
- 7 teaspoons allergy friendly cocoa powder (1 teaspoon per bomb)
- Mini Marshmallows (10-12 per bomb)
Be sure to leave some vegan dark chocolate for decorating!
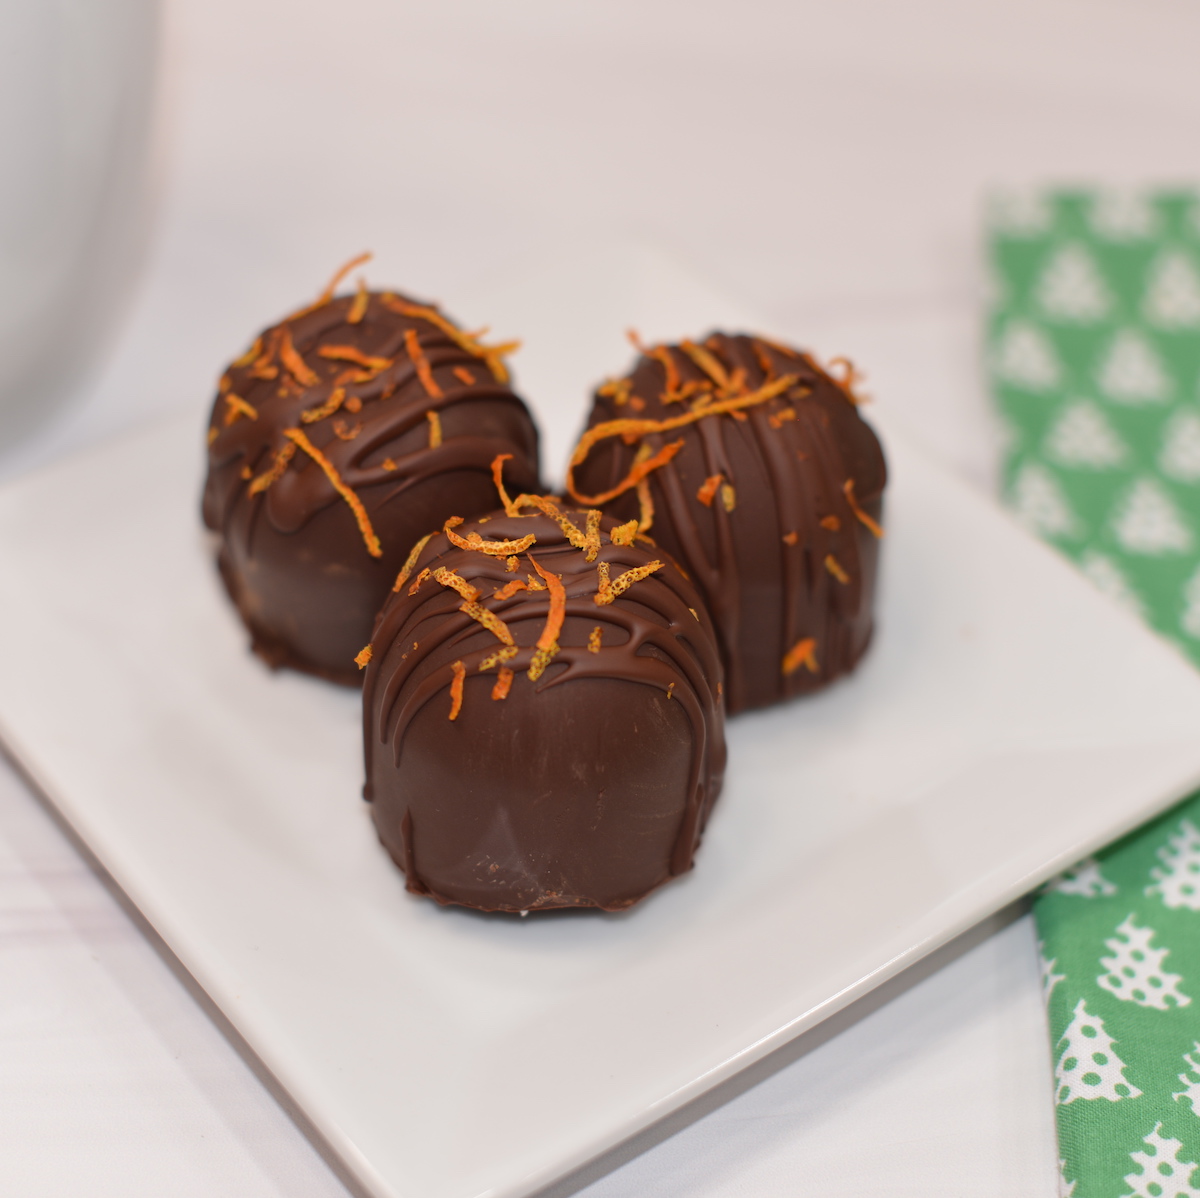
Orange Dark Chocolate Hot Cocoa Bombs
We love everything orange, and orange goes great with dark chocolate!
To fill one InstantPot silicon egg mold with 7 slots you will need:
- 2 Bags of allergy free dark chocolate chips or chunks
- 7 teaspoons allergy friendly cocoa powder (1 teaspoon per bomb)
- 4 Teaspoons dried orange peel, diced (1/2 teaspoon per bomb plus some for decorating)
- Mini Marshmallows (10-12 per bomb)
Be sure to leave some dark chocolate for decorating!
You can make your own dried orange peel by zesting an orange and heating it on low in a frying pan until it has dried out. I used the zest of two oranges for 7 bombs in an InstantPot egg mold.
How to Enjoy Your Vegan Hot Chocolate Bombs
Simply place your bomb in a mug, pour your favorite warm milk over it, stir, and enjoy your chocolate treats!
To keep these vegan and allergen friendly, you can use your dairy free milk, like almond milk, oat milk, or coconut milk to create the perfect cup of hot cocoa. You can also use hot water if you rather make a vegan cup of cocoa that way.
Storage
Vegan hot chocolate bombs made with your favorite hot chocolate recipe can be stored in an airtight container in a cool, dry place for up to one week. To keep them fresh and flavorful, you can also store them in the fridge. Whenever you’re ready to enjoy your vegan hot chocolate bombs, simply take them out of the refrigerator and let them return to room temperature before serving. Enjoy!
Vegan Hot Chocolate Bombs {Allergy Free}

These hot chocolate bombs are all the rage, and completely allergy friendly and vegan! We'll show you how to make four great flavors of hot chocolate bombs!
Ingredients
- For all vegan hot chocolate bombs:
- InstantPot Silicone Egg Mold
- For White Chocolate Peppermint Mocha Vegan Hot Cocoa Bombs:
- 2 Bags of Nestle Allergy Free White Chocolate Chips
- 21 Mini Candy Canes smashed (2 for inside each cocoa bomb, 1 for the outside)
- Mini Marshmallows (10-12 per bomb)
- For Black and White Allergy Free Hot Chocolate Bombs:
- 2 Bags of Nestle Allergy Free White Chocolate Chips
- 7 teaspoons allergy friendly cocoa powder
- Mini Marshmallows (10-12 per bomb)
- Allergy Friendly dark chocolate chips or chunks for decorating (approximately 1/4 of a bag)
- For European Style Dark Chocolate Hot Cocoa Bombs:
- 2 Bags of allergy free dark chocolate chips or chunks
- 7 teaspoons allergy friendly cocoa powder (1 teaspoon per bomb)
- Mini Marshmallows (10-12 per bomb)
- For Orange Dark Chocolate Hot Cocoa Bombs:
- 2 Bags of allergy free dark chocolate chips or chunks
- 7 teaspoons allergy friendly cocoa powder (1 teaspoon per bomb)
- 4 Teaspoons dried orange peel, diced (1/2 teaspoon per bomb plus some for decorating)
- Mini Marshmallows (10-12 per bomb)
Instructions
- Start by melting your chocolate.
- To use your InstantPot as a double boiler, put 3 cups of water in your InstantPot and switch it on to sauté.
- Simply place two packages of your favorite allergy free chocolate chips in a large metal bowl. Once the water is boiling, put your metal bowl on top of your InstantPot in 30 second increments and stir stir stir!
- After all chips have melted, allow chocolate to sit for 5-10 minutes, stirring occasionally to check consistency. You don't want your chocolate to be too liquidy, it has to cool first to coat the molds correctly.
- Use a kitchen tablespoon and put two spoons of chocolate in each mold, using the spoon to bring the chocolate up the sides.
- Do this for all of the holes in your InstantPot egg bite mold. Keep cycling through this, and your chocolate will get firmer. This is a good thing! This whole process should take you 3-4 minutes. If you see the mold through any of the spots in the chocolate, spread more chocolate with the spoon or a paint brush.
- Allow the chocolate to set for 10 minutes in the refrigerator. Once your chocolate shells have hardened, you are ready to fill your molds.
- Fill your molds in this order: special feature (crushed candy canes or orange peels, or whatever you would like, cocoa if you are using it, then 10-12 marshmallows per bomb.
- Put mold back in the refrigerator for another 10 minutes.
- Remove from silicone mold by pulling and stretching mold, then flipping over and pushing on bottom one bomb at a time.
- Decorate as desired with drizzled chocolate, and features like crushed candy canes, orange peel, or whatever you would like.
- Serve by placing in mug, then pouring hot allergy friendly milk of choice over them.
Notes
These hot cocoa bombs lend themselves to adaptation. You can put anything you want inside of them and use any type of chocolate you wish to personalize them!
Recommended Products
As an Amazon Associate and member of other affiliate programs, I earn from qualifying purchases.
-
WARMBUY 12 Pcs DIY Metal Bath Bomb Molds, Set of 6
-
GOKCEN's Silicone Egg Bites Molds For Instant Pot Accessories
-
Instant Pot Duo Plus 9-in-1, 8 Quart Electric Pressure Cooker
-
Pascha Organic Semi Sweet Chocolate Baking Chips, Allergy Friendly!
-
Enjoy Life Dark Chocolate Multi-Pack of 4 Packages. Dairy-Free, Nut-Free, and Soy-Free Chocolate Chips.
-
So Delicious Dairy-Free Organic Coconutmilk Beverage, Unsweetened, 32 oz (Pack of 6)
-
GERBS Natural Cocoa Powder, 16 ounce Bag, Top 14 Food Allergen Free, Fair Trade, Non GMO, Vegan

